Configuring Cisco SPA5XXG IP Phone with CloudNippon
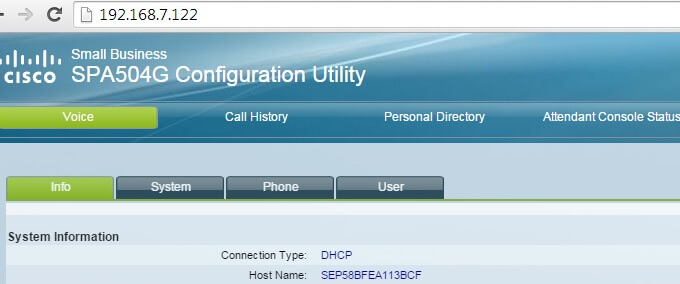
Step 1: Start up the phone and identify its IP Address – using the menu key on the phone, go to the “Network” option and press the “Select” button. For example the IP address of the phone is 192.168.7.122.
Step 2: Point your browser to the web interface of the phone: http://192.168.7.122


Step 3: Click on the “Admin Login” link, and next click on the “Advanced” link at the top of the page to the phone’s advanced administration page.


Step 4: Now we need to set the phone to register with CloudNippon SIP. Click on the “Ext1″ tab, and configure as follows:
a. Set the “Line Enable” field to “yes”


b. In the “Proxy and Registration” section, set the “Proxy” field to the IP Address of the CloudNippon SIP.
Proxy: siptrunk.cloudnippon.com


c. In the “Subscriber Information” section enter the following information.
Display Name:
User ID: < sip username >
Auth ID: < sip username >
Password: < sip password >


Step 5: Click the “Submit All Changes” button at the bottom of the page. Your phone will restart. After rebooting, the phone will register with CloudNippon SIP. You can verify this via the Status page on the phone.


Dial Pattern:
For Singapore 65 + < Number >. Ex: 6563401006
For International Prefix: 00 + < Country Code > + < Number >.
Ex: 008034790665(Japan)
